The first time you open MobileBiz Pro on a new install, a short setup wizard walks you through the basics. It takes about a minute, and everything you enter can be changed later in Settings.
What You'll Need
Before you start: Just your business name. Currency, tax, and contact details are helpful but optional — you can add or change them anytime.
The Setup Wizard, Step by Step
The wizard has four screens. You move forward with Next (or Continue) and back with Back.
-
Welcome — Tap Get started to begin.
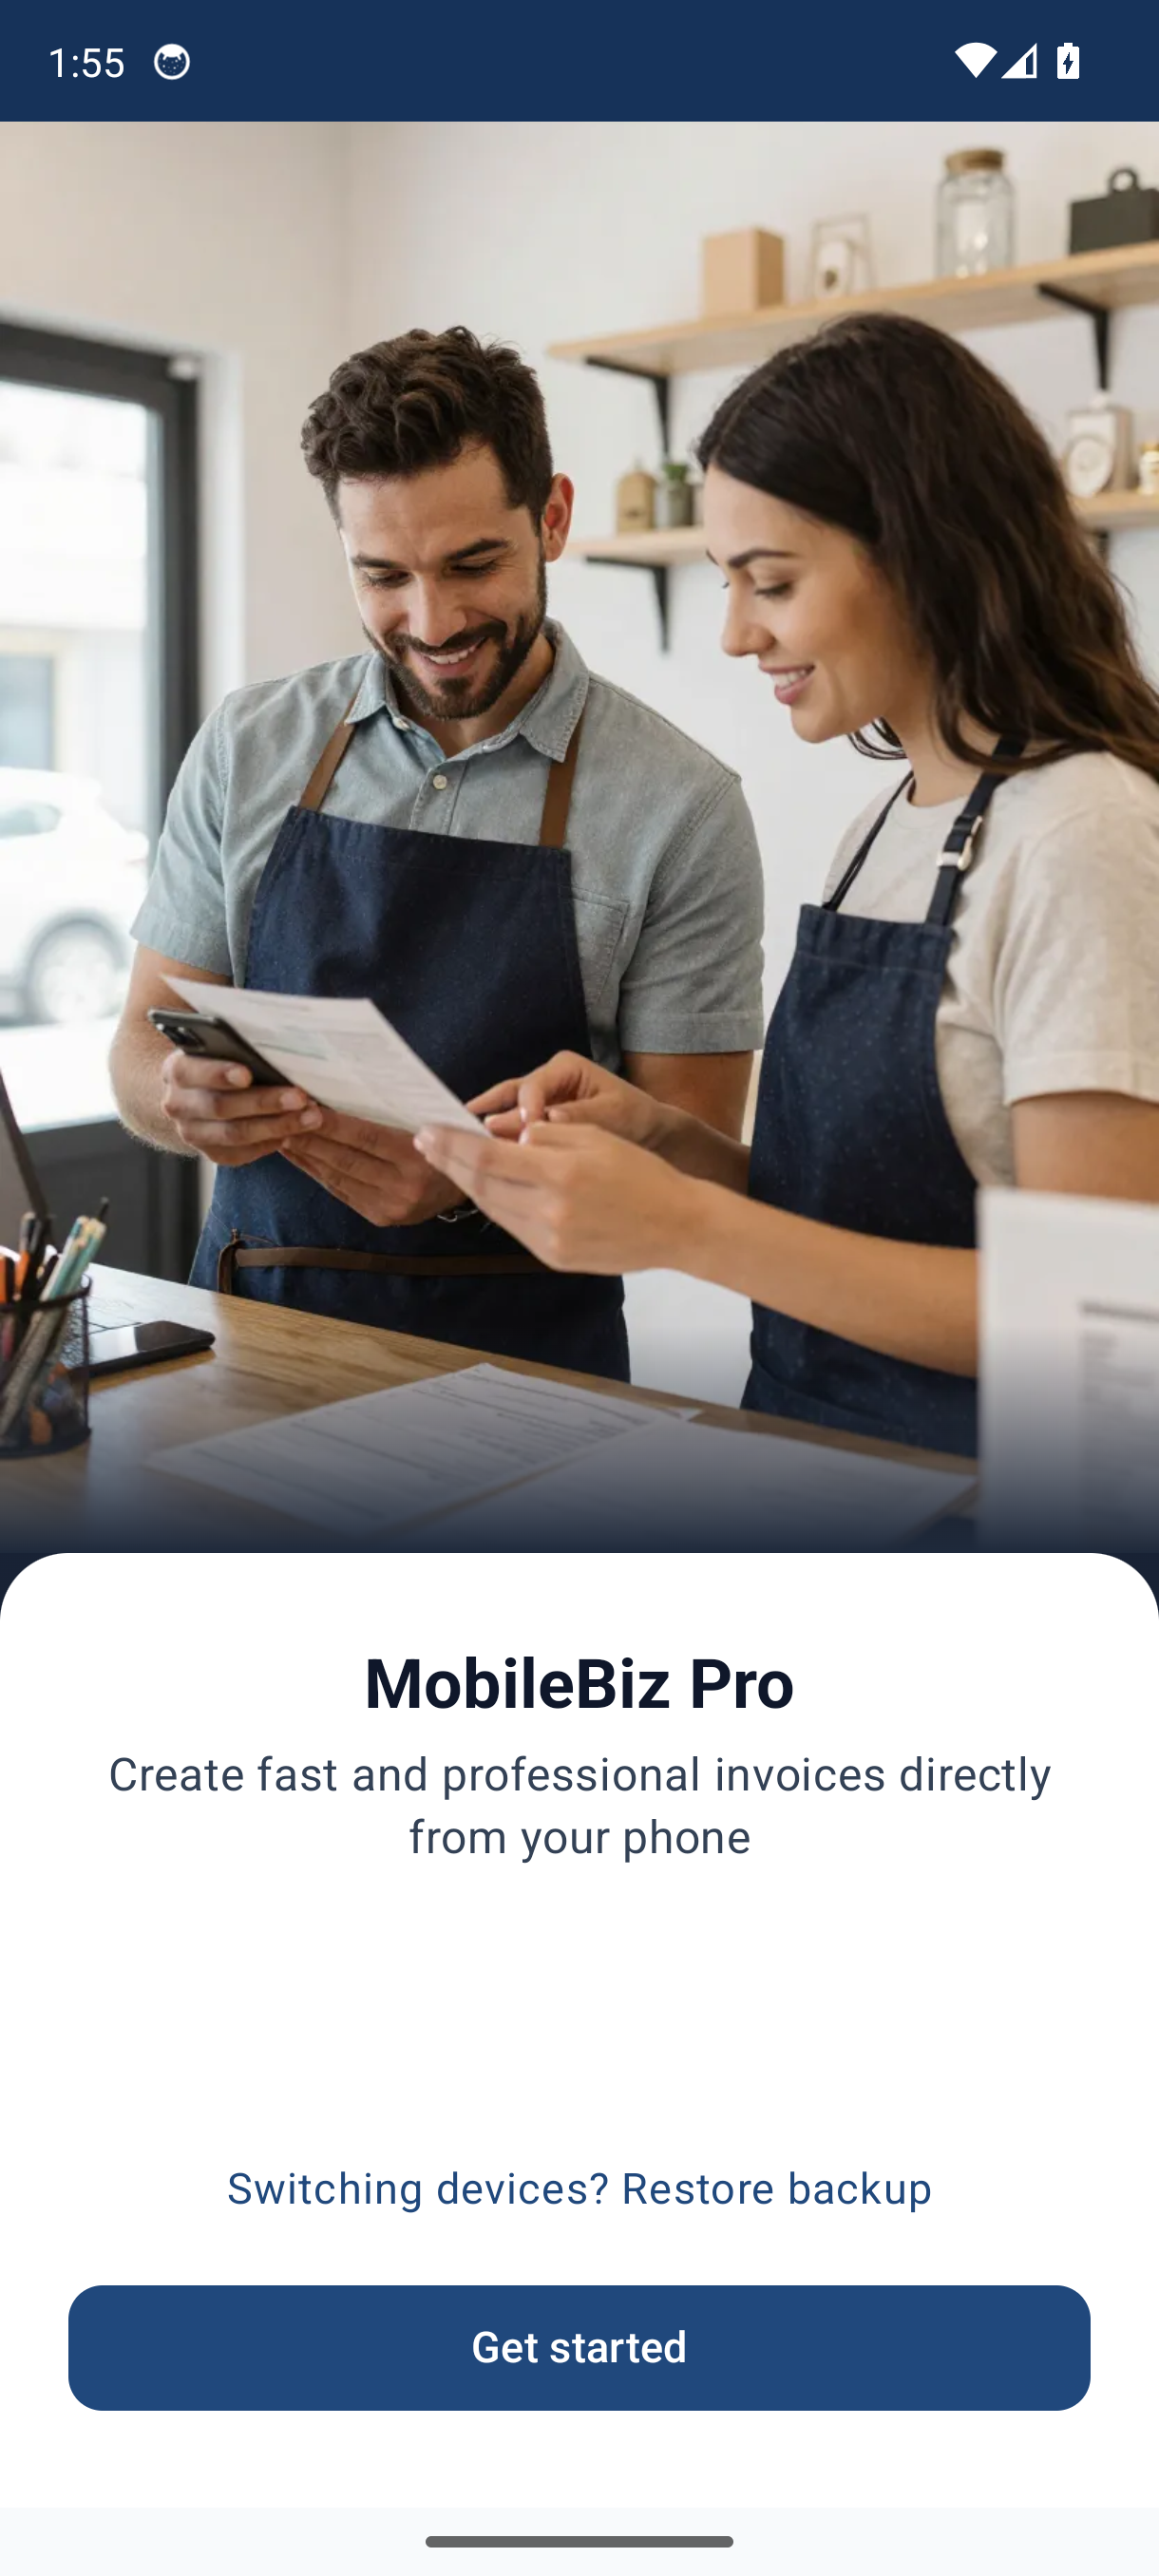
Moving from an old phone? Tap Switching devices? Restore backup instead — this brings your existing data across before you set anything up. See How to Restore a Backup for the full walkthrough.
-
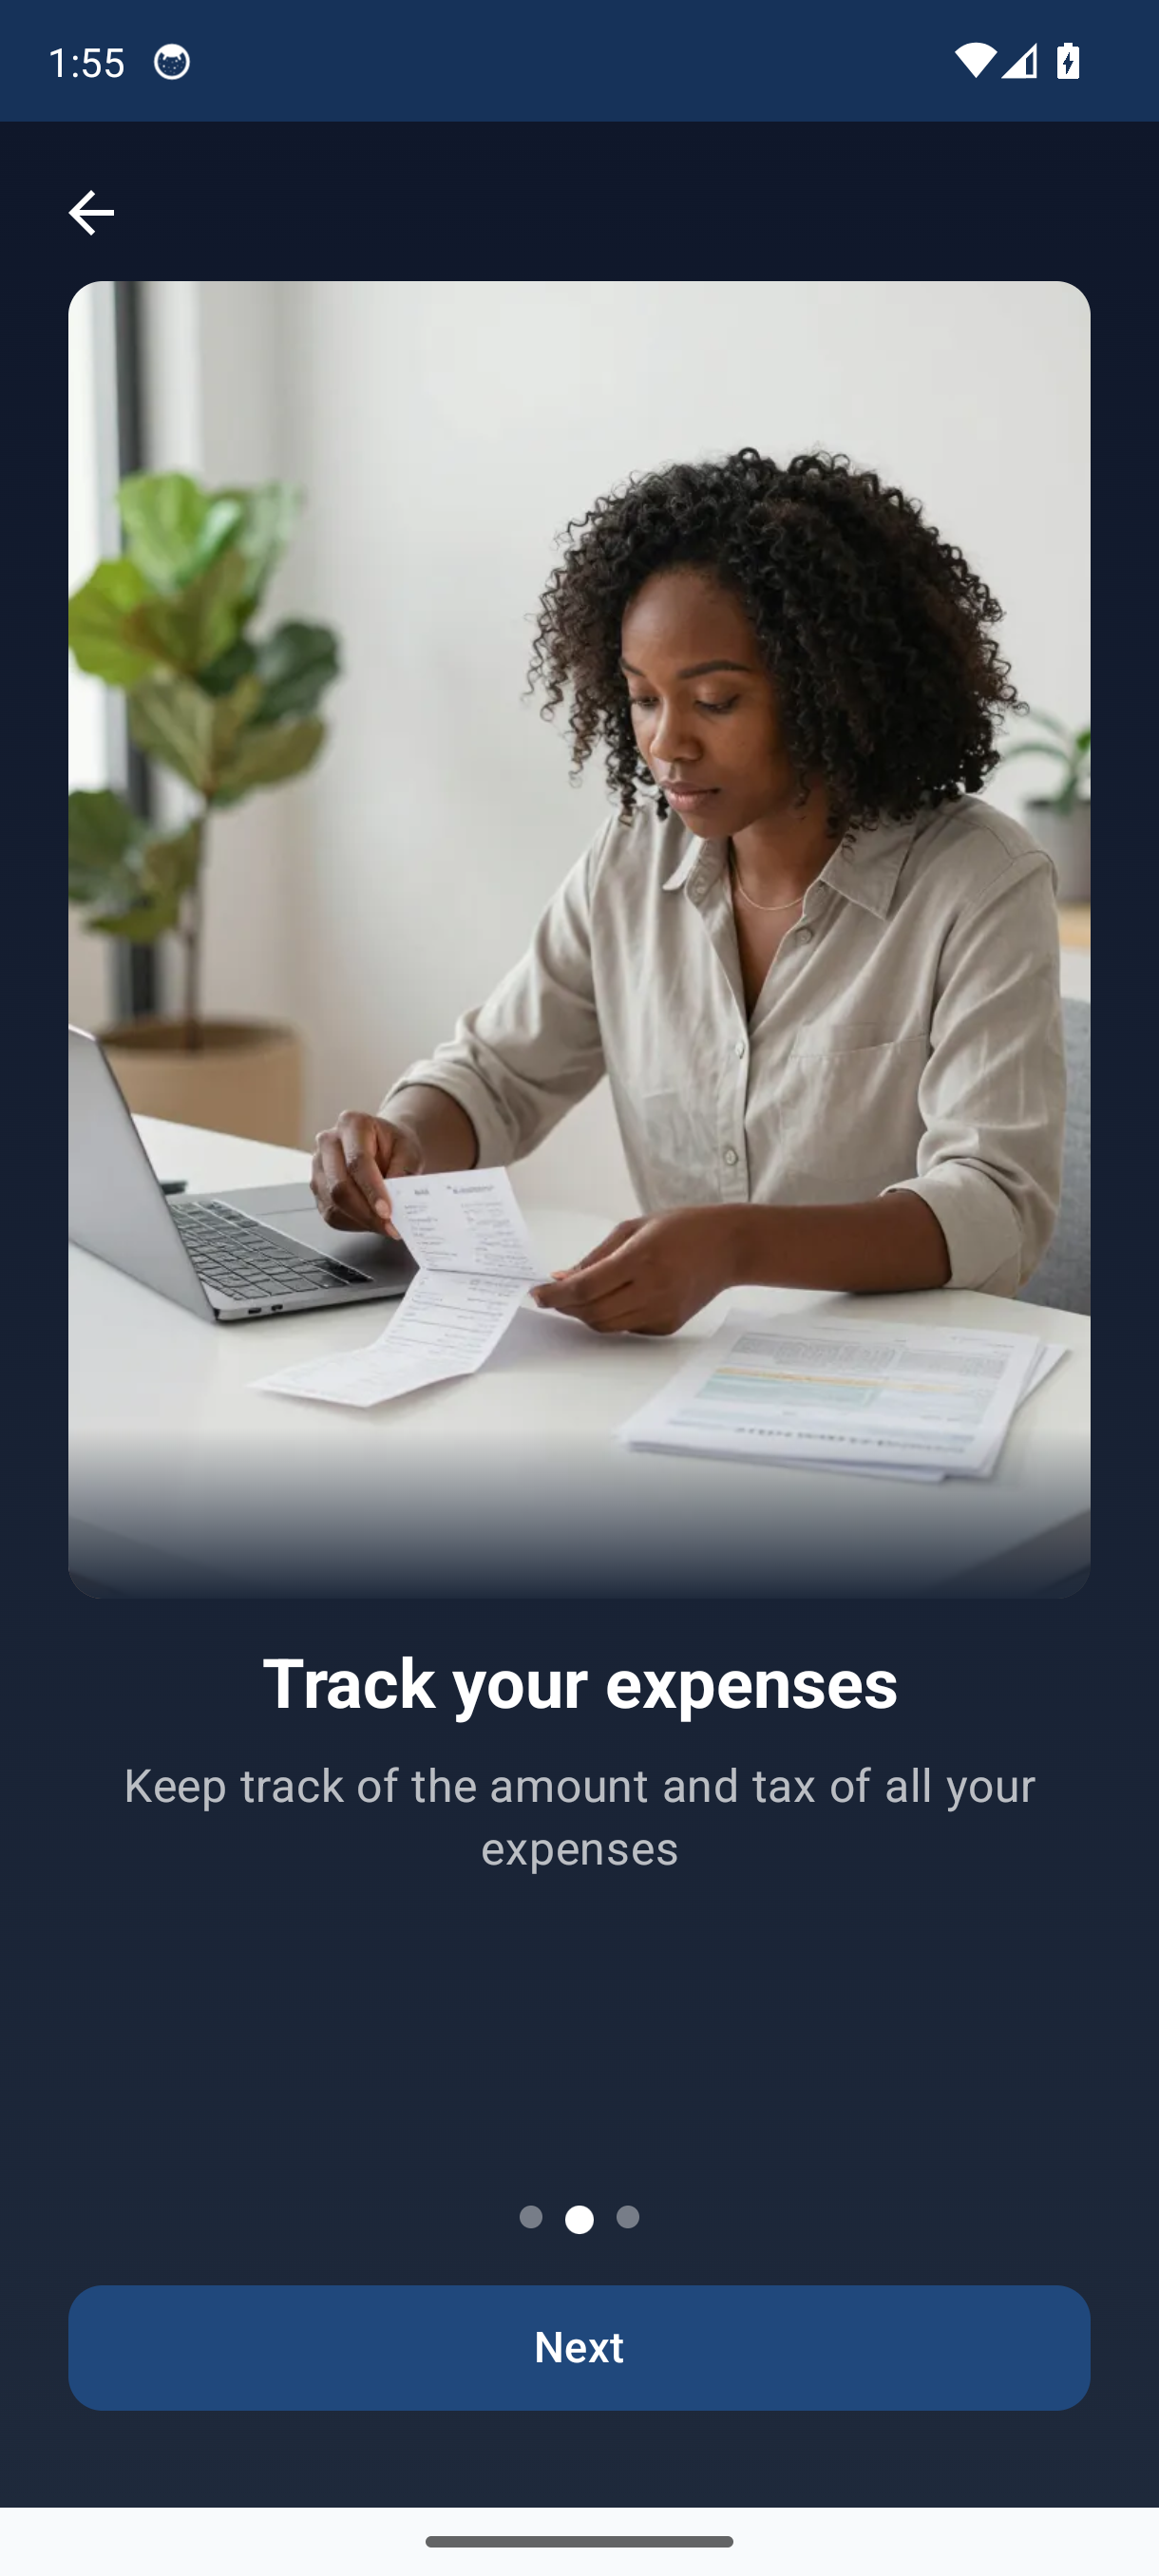
Feature highlights — A quick tour of invoicing, expense tracking, and reports. Swipe through or wait for the slides to advance, then tap Continue.
-
Your Business — Enter your details:
Field Notes Business Name Required. Appears on all your invoices. Next stays disabled until this is filled in. Email Optional. Used as the default CC address when you email invoices. Phone Optional. Shown on your documents. 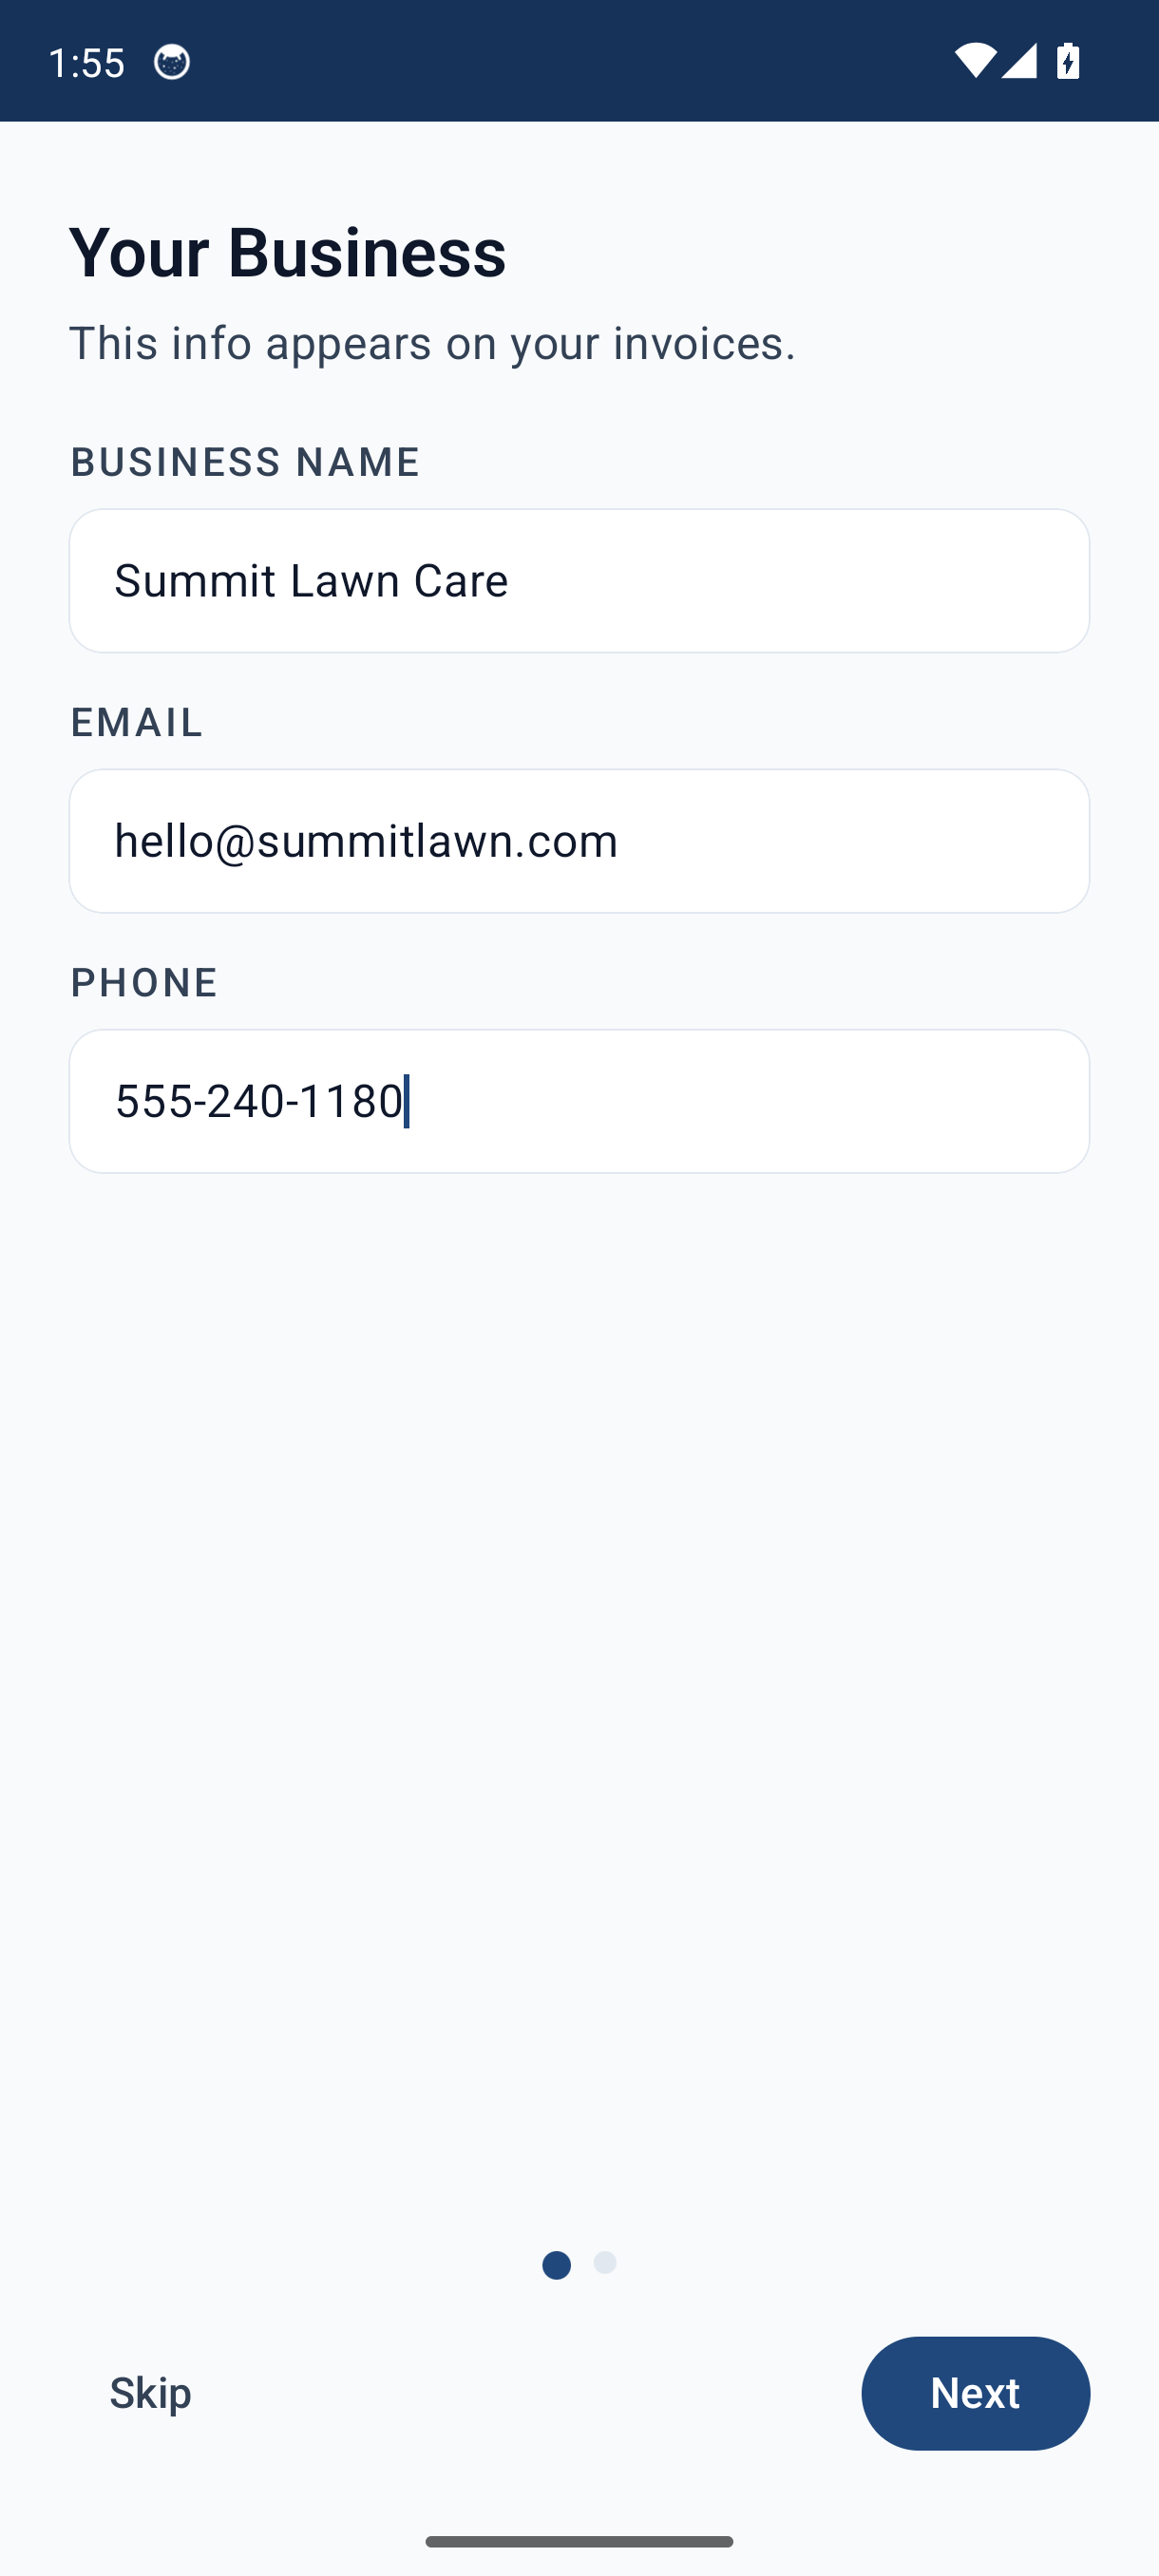
Once your business name is entered, a Skip option appears if you'd rather finish setup later.
-
Currency & Tax — Pick your Country / Region from the list. This automatically sets your currency symbol, number format, and date format (all shown as read-only previews).
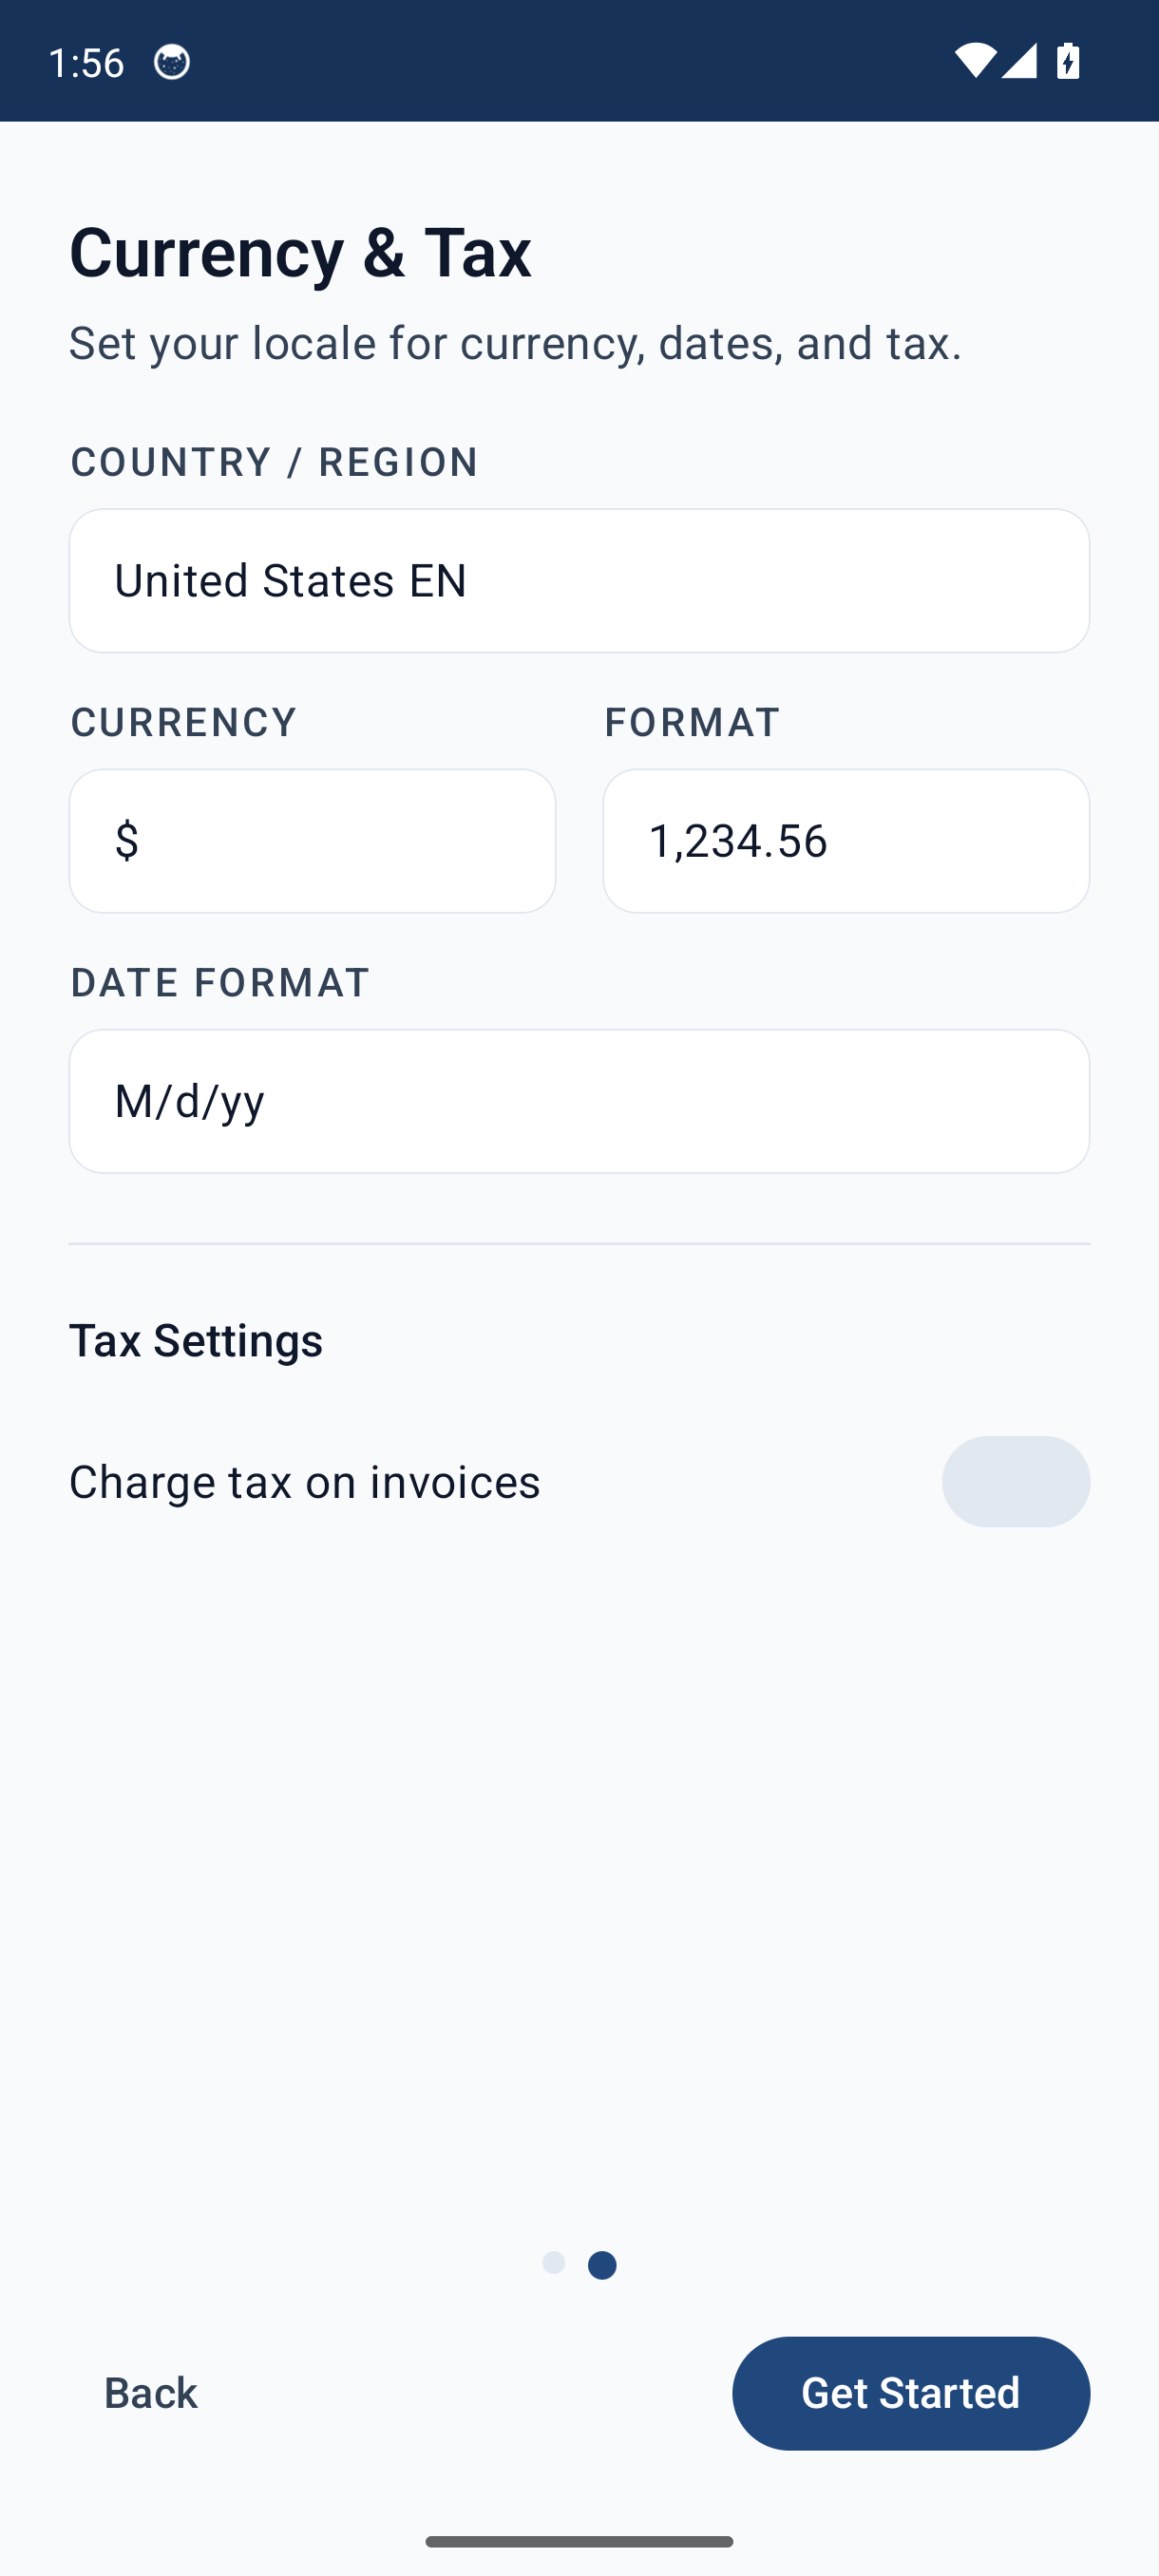
To charge tax, turn on Charge tax on invoices, then enter a Tax Name (e.g. GST, VAT) and Rate %. Turn on Prices include tax if your item prices already have tax built in.
Tap Get Started to finish and open your Dashboard.
Moving From an Old Phone?
If you restored a backup on the Welcome screen, your business details, customers, items, and history all come across — so you can skip the rest of the wizard. You can restore from Google Drive, Dropbox, or This Device (a local backup file).
Good to Know
- Nothing here is permanent. Change your business details anytime in Settings > Company profile, your logo in Settings > Company logo, currency in Settings > Currency & date formats, and tax under the Taxes section of Settings.
- You can add a logo later — it isn't part of the wizard. Go to Settings > Company logo when you're ready.
- Skipping is fine. Once your business name is set, tap Skip to jump straight to the app and finish the details later.
- Updating from an older version? You won't see this wizard — your existing setup is kept exactly as-is.
- These settings apply to new documents. Existing invoices keep the information they were created with.
Still stuck? Contact Support for help.